A New Look!
Hey friends! I am thrilled to share with you something that I have been working on with my friend and very talented designer Rashi Birla...a new LOGO. Yay, Wind & Willow Home is getting a bit of an update in more ways than one but for now, lets discuss the new logo.
As the W&WH story goes, originally I started off as a curated shop for handmade goods from artists around the world. Soon after, the products that I was making myself caught on and they kind of took over. From then on, my brand took on a look, a bit more modern than I had originally planned. After 2 1/2 years I am excited to share with you a logo that not only fits with the aesthetic that Wind & Willow Home has become but also something that is a bit more universal as I diversify my products to include hand inked soft goods (coming soon) along with my wooden housewares.
The design process was exciting and a bit scary but my mind was at ease as Rashi was able to take my wishes for a clean, modern look and pair it with the natural comfortable feel of the brand. She took a modern font and softened it a bit with the custom loop design in the W and the M. I feel it really embodies all that the brand is about: Modern, classic design with a bit of vibrancy and natural inspiration.
You may have spotted the new logos popping up on my Facebook page and soon you will see the new look everywhere you find W&WH. Here is a look at some of the images that will see soon.


I couldn't be more excited about the results and am working to integrate the new look into all of our products and marketing material. What do you think about the new logo?
Don't forget, you can come check out my new logo and line of hand inked housewares at Renegade Craft Fair Sept. 7th and 8th 2014 in CHICAGO. More info. Here
As the W&WH story goes, originally I started off as a curated shop for handmade goods from artists around the world. Soon after, the products that I was making myself caught on and they kind of took over. From then on, my brand took on a look, a bit more modern than I had originally planned. After 2 1/2 years I am excited to share with you a logo that not only fits with the aesthetic that Wind & Willow Home has become but also something that is a bit more universal as I diversify my products to include hand inked soft goods (coming soon) along with my wooden housewares.
The design process was exciting and a bit scary but my mind was at ease as Rashi was able to take my wishes for a clean, modern look and pair it with the natural comfortable feel of the brand. She took a modern font and softened it a bit with the custom loop design in the W and the M. I feel it really embodies all that the brand is about: Modern, classic design with a bit of vibrancy and natural inspiration.
You may have spotted the new logos popping up on my Facebook page and soon you will see the new look everywhere you find W&WH. Here is a look at some of the images that will see soon.
So, here's the old logo
____________________________________________________________
And, here's the new!
I couldn't be more excited about the results and am working to integrate the new look into all of our products and marketing material. What do you think about the new logo?
Don't forget, you can come check out my new logo and line of hand inked housewares at Renegade Craft Fair Sept. 7th and 8th 2014 in CHICAGO. More info. Here
The Gift of MOM
Getting a bit sentimental on the blog today but there's a good reason. Mother's day is less than 2 weeks away and every year I take a bit of time to reflect on the incredibly special women who have influenced the person I am today throughout my 33 years. Being a mother myself, I don't think I have gone a day without appreciating the values these women have instilled in me as I pass them along to my children. Moms, in general, are superheros but I am going to give some shout out's to the few that I call Mom.
First, of course my amazing Mom, Jacquie who is the most caring, compassionate, kind woman I know. Not just to myself and siblings but to all people. She has worked with people, young and old who most would have (and did) disregard due to mental issues, behavioral problems and tough times. She selflessly gives them her time, compassion and care, like they were one of her own. All the while dealing with tremendous life changes herself.
Second, my step Mom, Cindy who has instilled so many life lessons into me throughout the years and still continues to do so. Her strength and humor seem to get her through the tough times with a smile.
Finally, Debbie, my mother-in-law who is incredibly caring and passionate. Not only did she pass these traits along to her children (my husband included), she is instilling her caring values into our own children.
I could go on and on about these fine women and so many of the other unbelievable Mothers in my life but if I could take the tiniest little piece from each one of them and instill their caring, compassionate, determined, bold and beautiful characteristics into myself and my children I will have succeeded as a Mother myself. So, a big thank you to all of the Mother's out there.
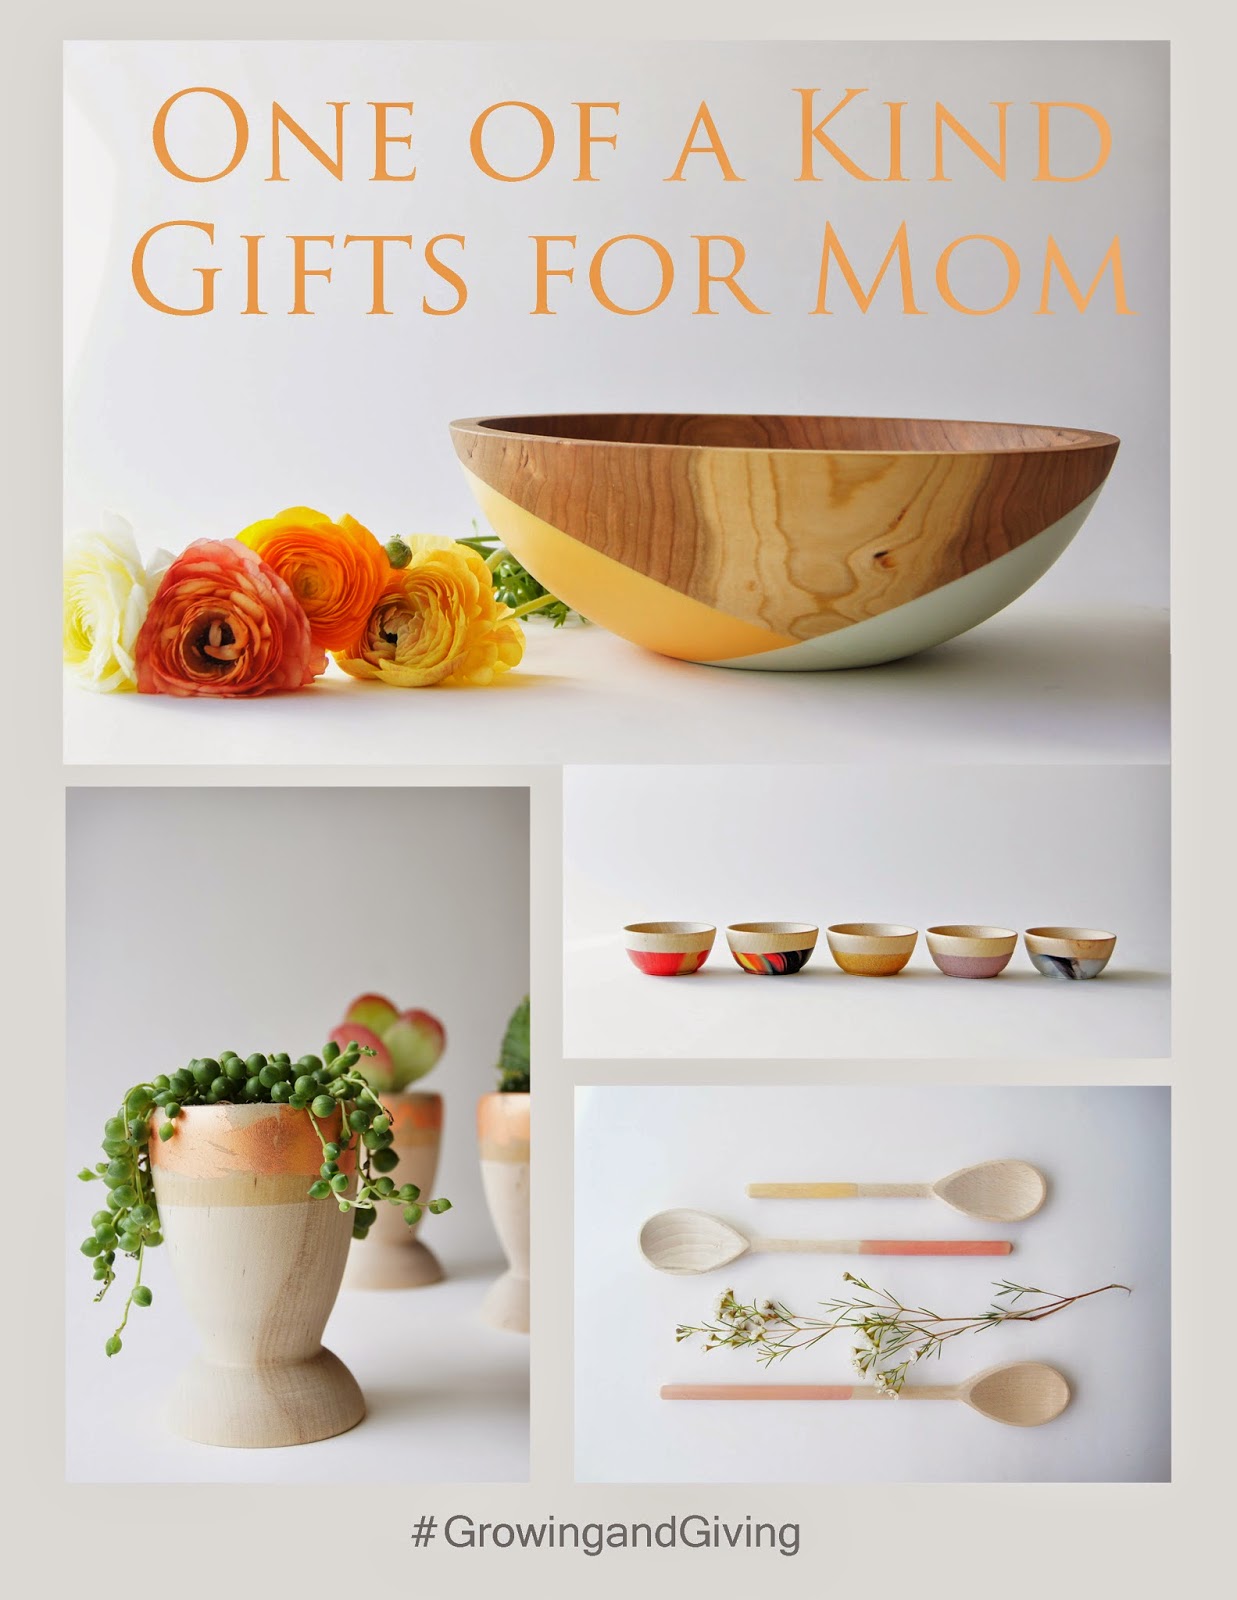
Of course, many of you can relate to women in your lives who have the same amazing traits. And, like me, you are wondering how to repay them for the gifts that they have given you. I think the best gift is making them proud. Second, would be something beautiful that can serve as a reminder of your appreciation (enter shameless plug). So....how about one of these beautiful gifts from my crowd funding campaign. By donating you can receive one of these completely hand made items FREE. In addition to giving a unique, handmade gift you can mention that it will also be helping a small business grow AND feed those in need. More here: http://bit.ly/wind-willow-indiegogo
More info. here: http://bit.ly/wind-willow-indiegogo

Questions, comments. Please email me hello@windandwillowhome.com
First, of course my amazing Mom, Jacquie who is the most caring, compassionate, kind woman I know. Not just to myself and siblings but to all people. She has worked with people, young and old who most would have (and did) disregard due to mental issues, behavioral problems and tough times. She selflessly gives them her time, compassion and care, like they were one of her own. All the while dealing with tremendous life changes herself.
Second, my step Mom, Cindy who has instilled so many life lessons into me throughout the years and still continues to do so. Her strength and humor seem to get her through the tough times with a smile.
Finally, Debbie, my mother-in-law who is incredibly caring and passionate. Not only did she pass these traits along to her children (my husband included), she is instilling her caring values into our own children.
I could go on and on about these fine women and so many of the other unbelievable Mothers in my life but if I could take the tiniest little piece from each one of them and instill their caring, compassionate, determined, bold and beautiful characteristics into myself and my children I will have succeeded as a Mother myself. So, a big thank you to all of the Mother's out there.
Of course, many of you can relate to women in your lives who have the same amazing traits. And, like me, you are wondering how to repay them for the gifts that they have given you. I think the best gift is making them proud. Second, would be something beautiful that can serve as a reminder of your appreciation (enter shameless plug). So....how about one of these beautiful gifts from my crowd funding campaign. By donating you can receive one of these completely hand made items FREE. In addition to giving a unique, handmade gift you can mention that it will also be helping a small business grow AND feed those in need. More here: http://bit.ly/wind-willow-indiegogo
How about naming a color after your Mother?
You could work with me to create a custom color that represents your Mom. You can name it after her and she will be able to enjoy seeing her color on spoons, bowls, planters and softgoods, all over the web and in small shops around the world through my Fall/Winter 2014 line. Now that would be special!More info. here: http://bit.ly/wind-willow-indiegogo
Questions, comments. Please email me hello@windandwillowhome.com
The BOWL FULL Project
I grew up in a small town in northern Minnesota. I enjoyed my town and imagined that my future would consist of raising my own family there just like my parents and grandparents before me. At the end of my junior year of high school I had the opportunity to travel to Alaska and work at a resort for the summer. Spite for my ex-boyfriend (my now husband, ha) and a bit of curiosity lead me to spend 3 months at a secluded resort outside of Fairbanks, Alaska. I had never been that far away from my family before and I was looking for independence (what 16 year old wouldn't). While there, I lived with a diverse group of people who taught me about life outside my tiny town and the experience shattered the lens with which I previously had viewed the world. My world view was transformed from these new surroundings. One lasting impact was the feeling that there is such a huge opportunity to get out into the world and do some good.
After graduating high school, I filled out a Peace Corps application, never to send it in due to the normal pressures of continuing my education and finding a career. After finishing college, the application was once again filled out but life (work, kids, house) had caused me to create excuses for putting it off once again. Finally, through the lasting influence from the culture of volunteerism at Target (my husband's employer), we have been serving meals at homeless shelters with friends outside of work when we can. After an unexpected career change that once again changed how I viewed my future, I have realized that my running my own business presents a great opportunity to pursue my hopes for getting out into the world and doing some good. I have been so fortunate in this endeavor that is Wind & Willow home. I want to show my gratitude by paying it forward, there's no better time than now.

After graduating high school, I filled out a Peace Corps application, never to send it in due to the normal pressures of continuing my education and finding a career. After finishing college, the application was once again filled out but life (work, kids, house) had caused me to create excuses for putting it off once again. Finally, through the lasting influence from the culture of volunteerism at Target (my husband's employer), we have been serving meals at homeless shelters with friends outside of work when we can. After an unexpected career change that once again changed how I viewed my future, I have realized that my running my own business presents a great opportunity to pursue my hopes for getting out into the world and doing some good. I have been so fortunate in this endeavor that is Wind & Willow home. I want to show my gratitude by paying it forward, there's no better time than now.
How It Will Work:
The Bowl Full project aims to feed those in need near and far. For each item purchased through WindandWillowHome.com I will donate a set amount of meals to our giving partners (see my crowdfunding video for more details). When preset goals are met (500 meals, 1000...), we will hold giving events where friends, family and fans can join forces and volunteer for a great cause. This is more than just writing a check, this project is giving in action as it aims to get people involved and spread the joy of helping others. Upon the success of my crowdfuding project we will be holding our first giving event this Fall near Minneapolis, Minnesota. Please contact us at hello@windandwillowhome.com or sign up for our mailing list to receive information when it becomes available.Please consider contributing to my Indiegogo crowdfuding project to make this project a reality. Please spread the word.
Contribute HERE.
Indie, Let's Do This
Hi friends! I have finally launched my Indiegogo crowdfunding project to help raise funds to bring this softgoods line to life. I have been working on this for some time and am thrilled (and a bit nervous) to have it ready for your lovely eyes to see.
While it has been a lot of work, I have loved every minute of the process. Starting with picking the perfect materials to learning a new creative process in such a beautiful medium. I have created prototypes in a vibrant neon, on white 100% linen colorway and a warm, Summer sky colorway on natural, unbleached 100% linen. I hope you enjoy the results, so much so that you would like to help the line succeeded by supporting and donating to project so I can bring this line to life.
More details HERE

I have created some beautiful, exclusive items as perks which you can receive with the associated donations. These perks are
geared toward giving, whether it be for Mother's Day, Wedding Gifts
or a great piece for a Graduate. It's an excellent way
for you to score fantastic products in addition to helping a small business
grow. It's giving at it's best.


These limited quantity items can only be received with your donation so hop on over and claim yours now!
You can view the entire Indiegogo project HERE
Introducing Blush
This Spring I really wanted to introduce each color and tell a bit about the inspiration. Much thought goes into each color that becomes an integral part of each seasonal line up. So, here is a peek into my mind as I am planning, mixing and making each.
First up is Blush. A soft pink that has a bit of coral in it. A lovely tone that is reminiscent of rosie cheeks. Those you get when the snow is melting, the days grow longer and all the energy that has been building up from a long Winter is finally released upon hours of puddle jumping and roaming the newly budding life.
Blush is the color of perfect pink petals that make up a welcome Spring bouquet. It's a bit darker than the Powder pink I used last season. This pink has more life, more depth and a bit more hope for warmer weather, getting outside and breathing life into everything.

What do you think of this Pink?
Shop Blush here.
Spring | Summer 2014
Hey Friends! Did you happen to notice the new colors in the shop? I am completely thrilled to introduce my new Spring | Summer 2014 line of colors. They are bright and optimistic, fresh and full of life. The inspiration came in daydreams of warmer weather, longer days and everything fresh and alive. Over the next few weeks I will spotlight each of the 8 colors and some images that represent these colors, in my line and around the studio. So, without further adieu, welcome, Strawberry, Blush, Sorbet, Daffodil, Grass, Dew, Sea and Bluebell.

You can see more of the SS14 line in our first ever lookbook (click the lookbook image top right column). It's 17 pages of fresh, fun Spring inspiration.
Also, a special thanks to all who helped me find the perfect name for the pink. I decided to go with Blush. I think it is lovely!
You can see more of the SS14 line in our first ever lookbook (click the lookbook image top right column). It's 17 pages of fresh, fun Spring inspiration.
Also, a special thanks to all who helped me find the perfect name for the pink. I decided to go with Blush. I think it is lovely!
Subscribe to:
Posts (Atom)